Download Rocky Linux 9.0


The first general availability version of Rocky Linux was released on June 21, 2021.
Download the official release of Rocky Linux 9.0 from one of the trusted mirrors.
| ARCHITECTURE | ISOs | Packages |
|---|---|---|
| x86_64 | Minimal | DVD | Boot | Torrent | Checksum | BaseOS |
| ARM64 (aarch64) | Minimal | DVD | Boot | Torrent | Checksum | BaseOS |
More Rocky Linux download options here: https://rockylinux.org/download/
Download
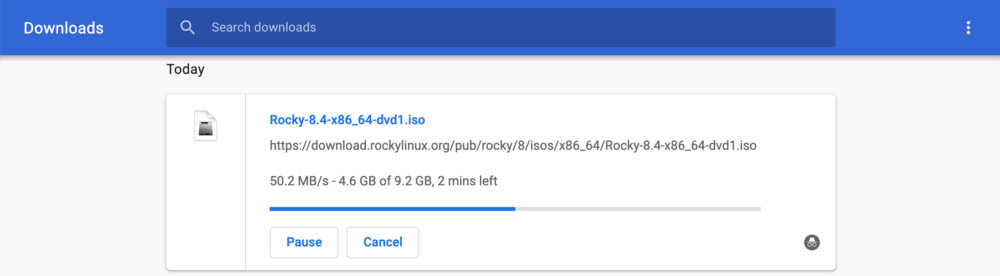
We will install Rocky Linux 8.4, you can pick the “DVD” link of the “x86_64” architecture, and download with your favourite brower.
We are downloading the Rocky Linux DVD Iso file with Chrome.
Checksum
You can get the validated ISO file checksum from the Rocky Linux website:
laptop% curl -s https://download.rockylinux.org/pub/rocky/8/isos/x86_64/CHECKSUM | grep "(Rocky-8.4-x86_64-dvd1.iso)"
SHA256 (Rocky-8.4-x86_64-dvd1.iso) = ffe2fae67da6702d859cfb0b321561a5d616ce87a963d8a25b018c9c3d52d9a4
We can generate the sha256 checksum of your ISO file downloaded locally:
laptop% sha256sum Rocky-8.4-x86_64-dvd1.iso
ffe2fae67da6702d859cfb0b321561a5d616ce87a963d8a25b018c9c3d52d9a4  Rocky-8.4-x86_64-dvd1.iso
We can compare the two values: the reference checksum from the Rocky Linux website and the generated on my computer are the same. We are good:
ffe2fae67da6702d859cfb0b321561a5d616ce87a963d8a25b018c9c3d52d9a4 = ffe2fae67da6702d859cfb0b321561a5d616ce87a963d8a25b018c9c3d52d9a4
ISO to USB key
You need to build one USB Key with the ISO file.
You can pick one of these tools or use the excellent default dd command tool of your computer:
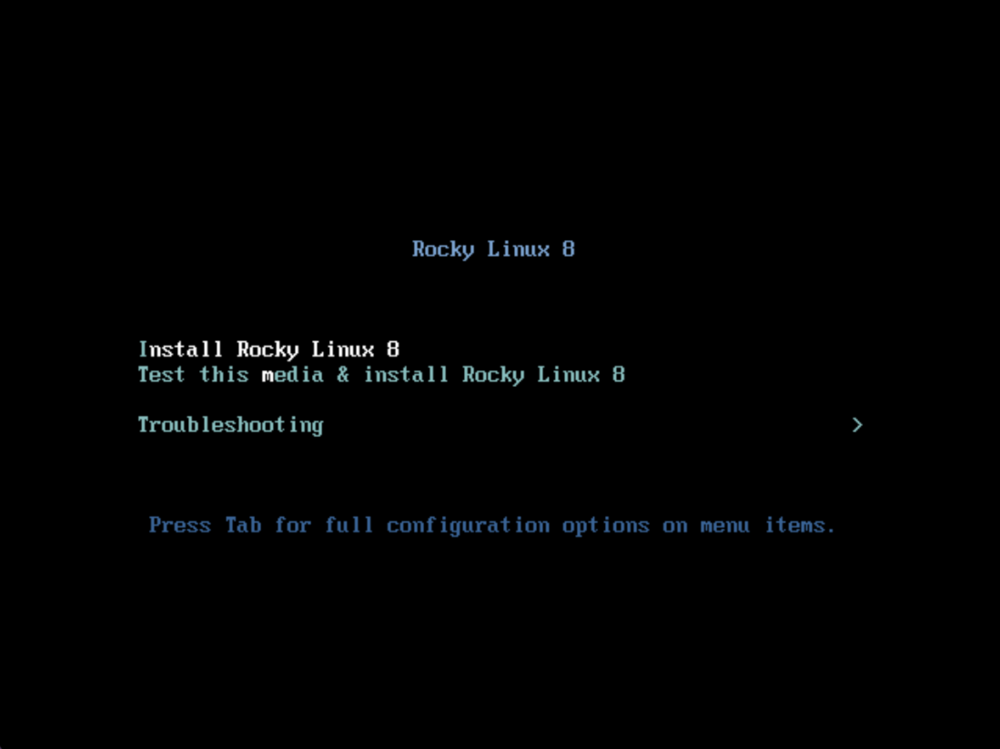
Boot with the ISO USB key
Plug your USB key and boot your computer. Depending of the default configuration, you should enable the USB boot by configuring your BIOS or pushing one function key during the boot.
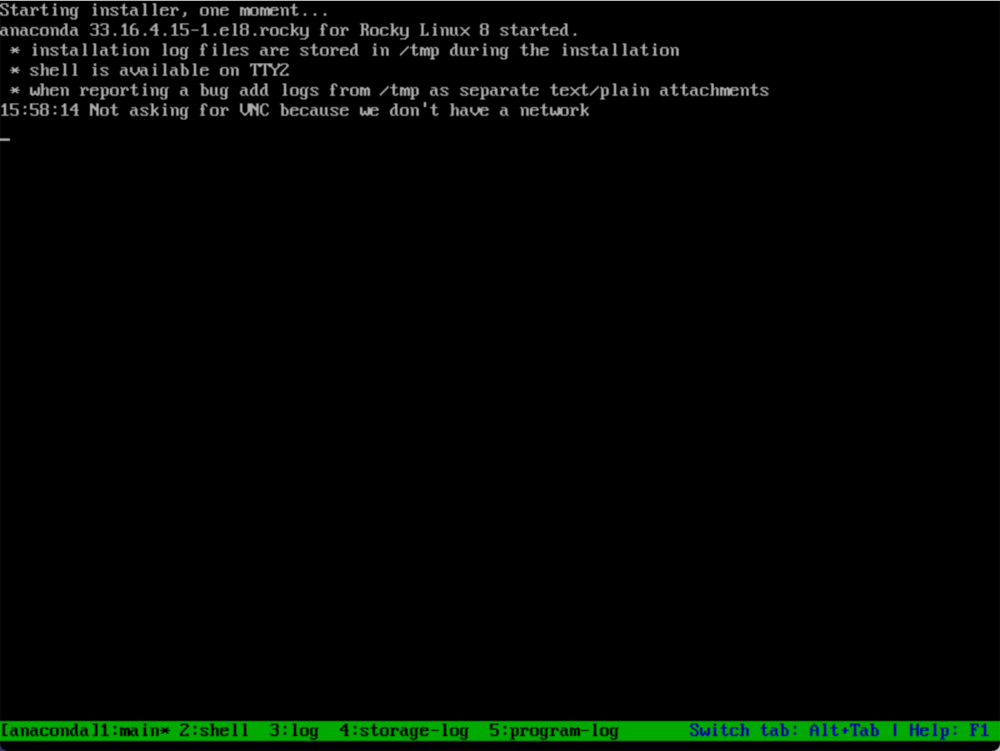
The classic Anaconda installer is starting.
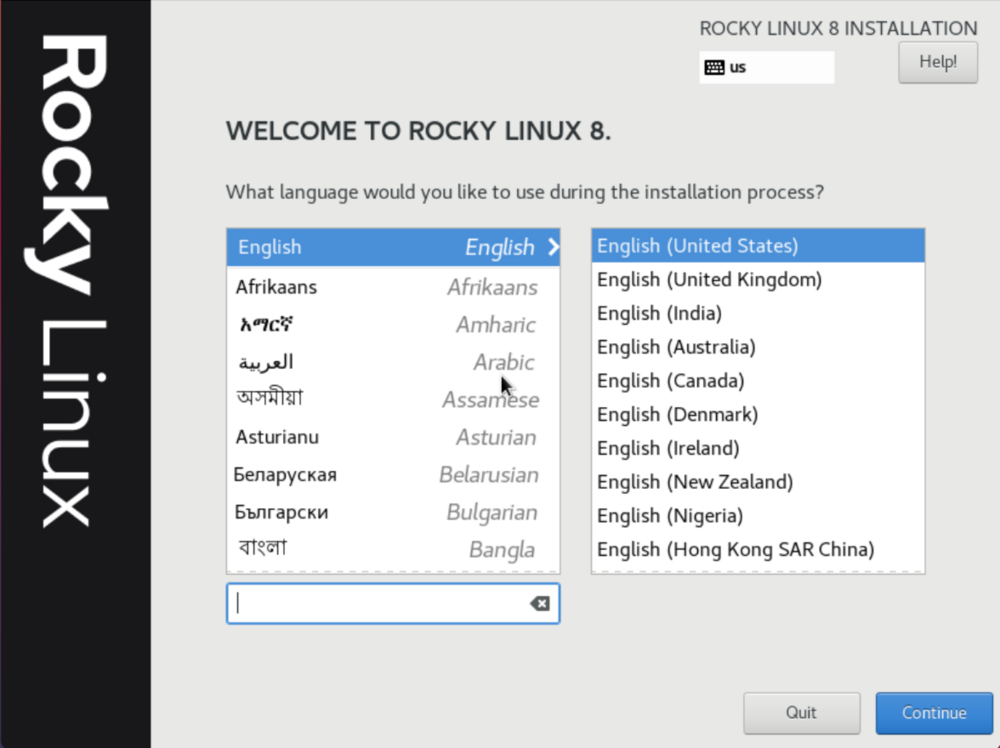
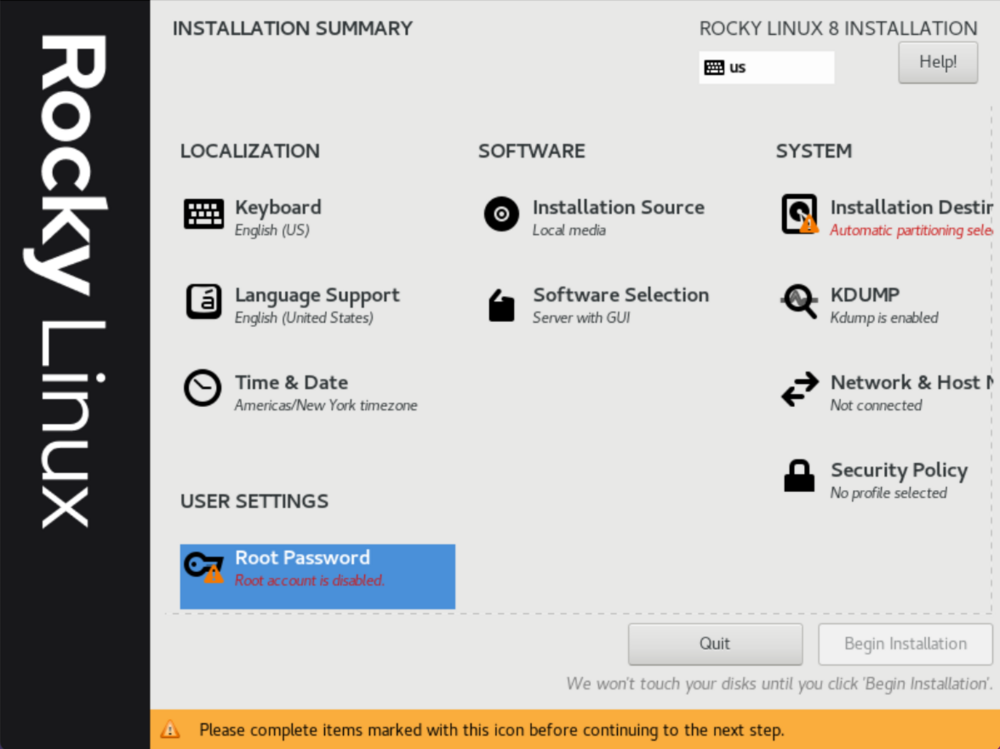
Rocky Linux installation summary
We are ready to setup our Rocky Linux, the Installer summary is proposing all the options your were finding in CentOS Linux.
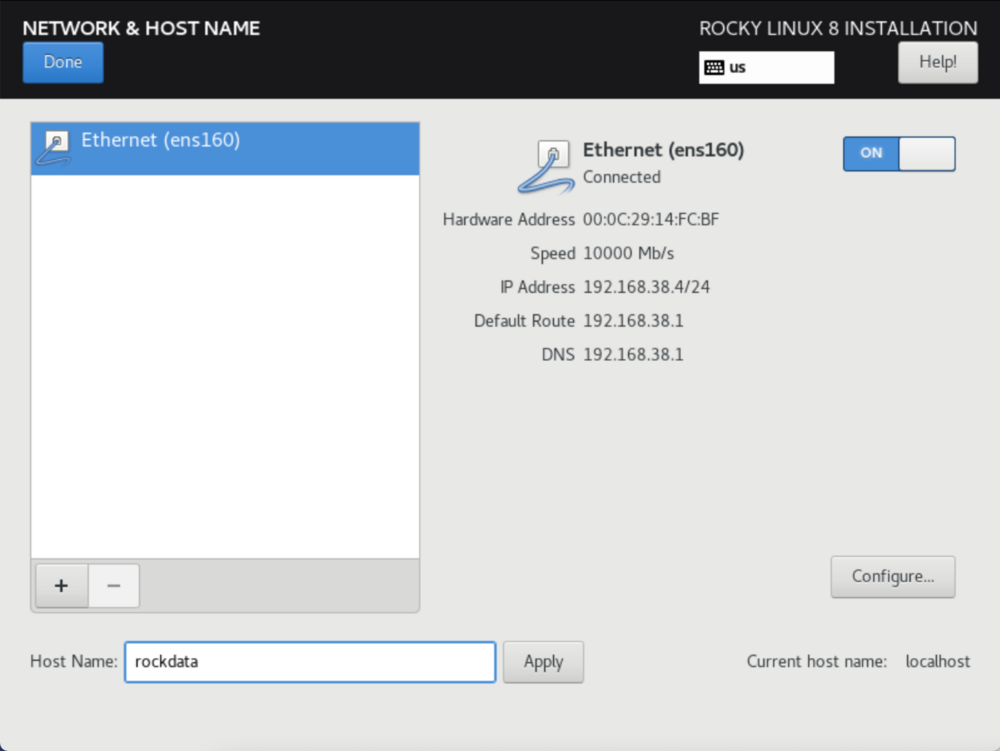
Network
We can go to: “SYSTEM” > “Network & Host Name”.
Enable your NIC and choose one hostname
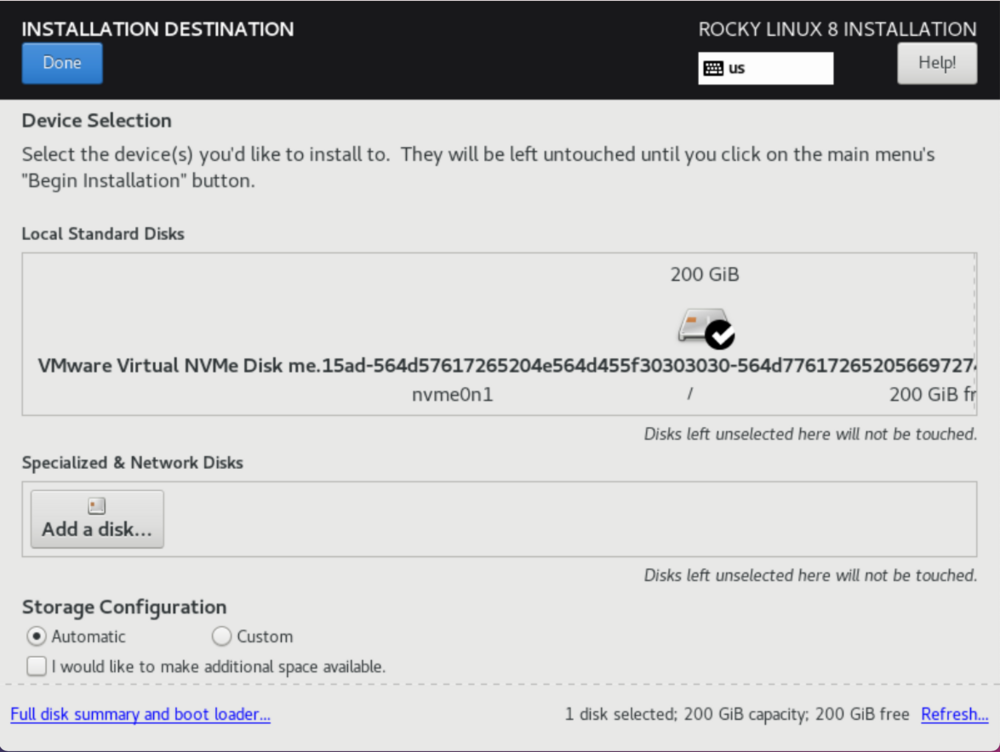
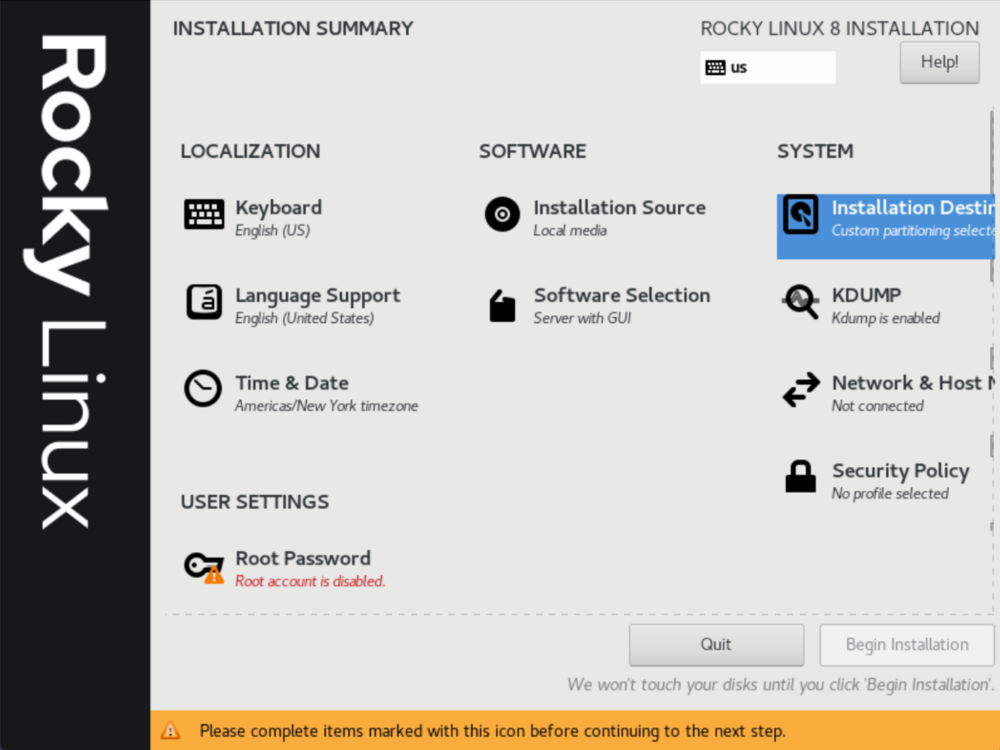
Disk configuration
We can go to: “SYSTEM” > “Installation Destination”.
We are keeping the default automatic partitioning:
Summary
We are going back into the Installation summary main configuration menu.
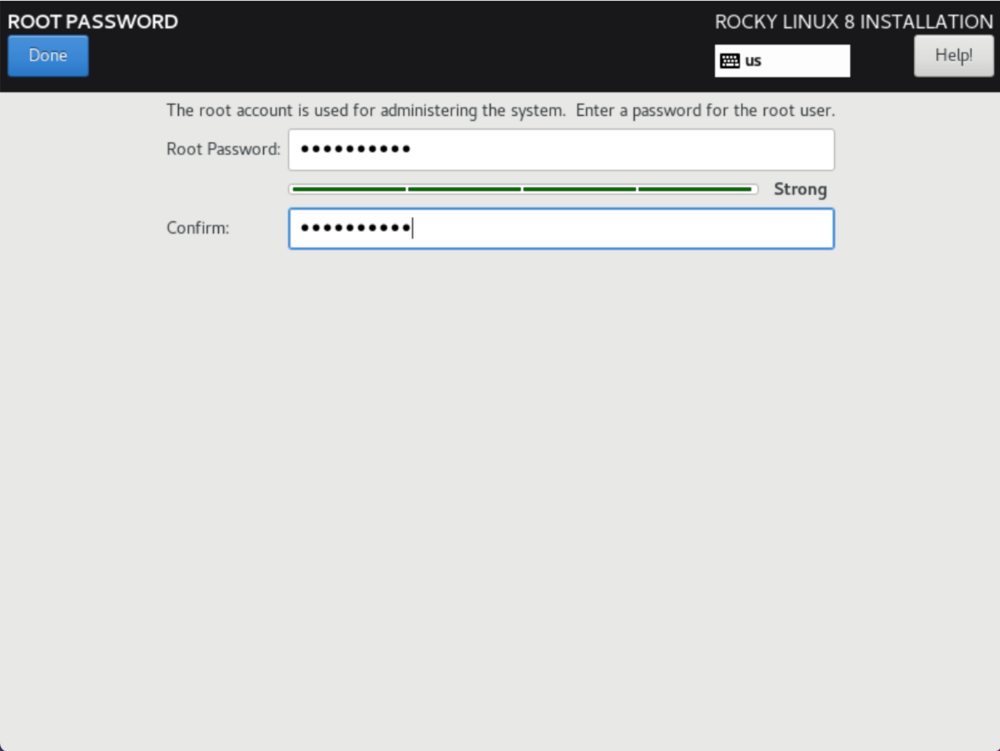
Root password
We can go to: “USER SETTINGS” > “Root Password”
You have to setup the root password.
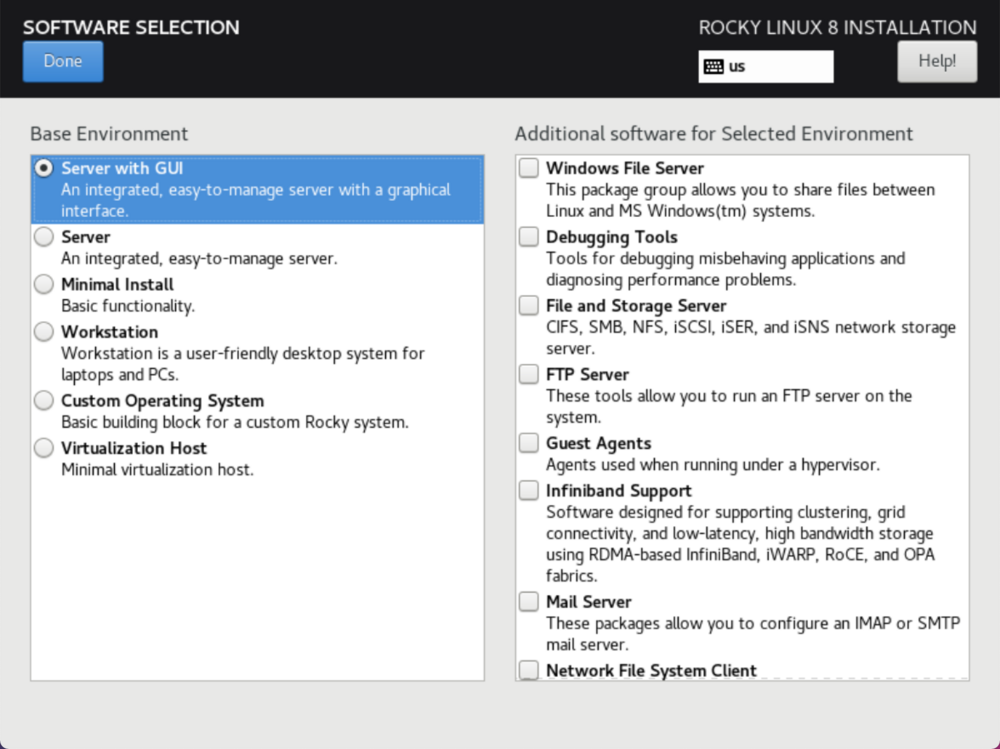
Software selection
We can go to: “SOFTWARE” > “Software Selection”
We are keeping the default “Server with GUI” base environment.
Installation
After having clicked on the “Begin Installation” button, the installation is starting.
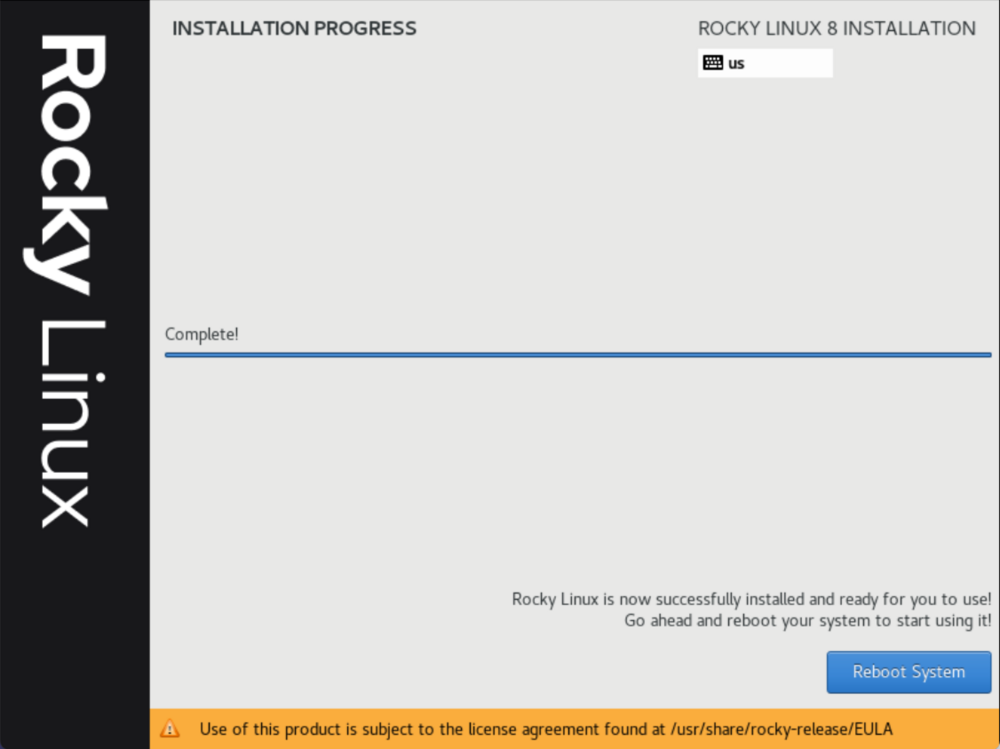
Prompt for reboot
At the end of the disk preparation, we can click on: “Reboot System”. We can remove the USB installation key now.
Grub prompt of the first boot
The system is booting from the local hard drive for the first time. We can boot with the default Grub menu “Rocky Linux 4.18.0”.
Booting
The GUI is starting.
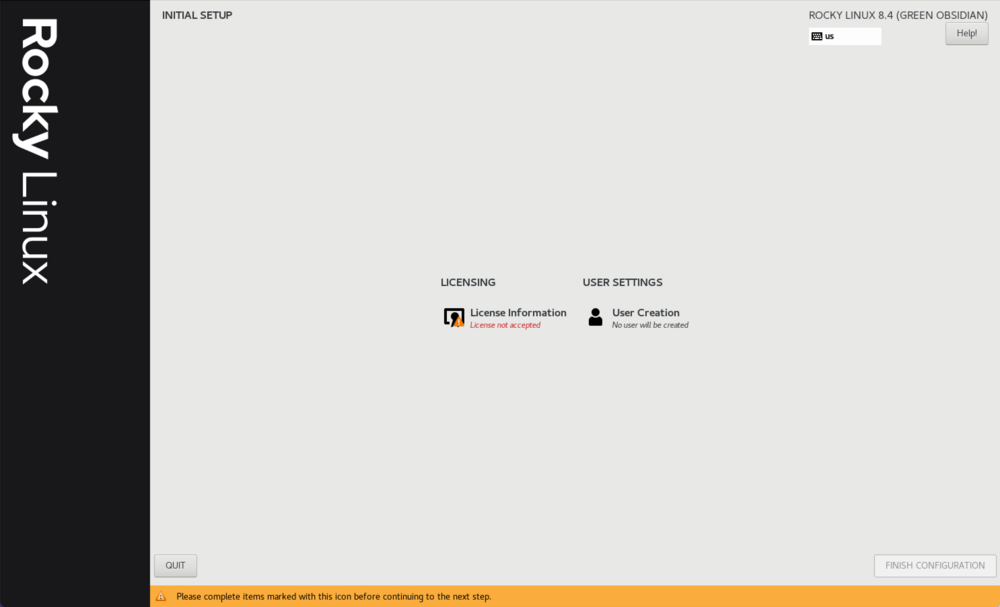
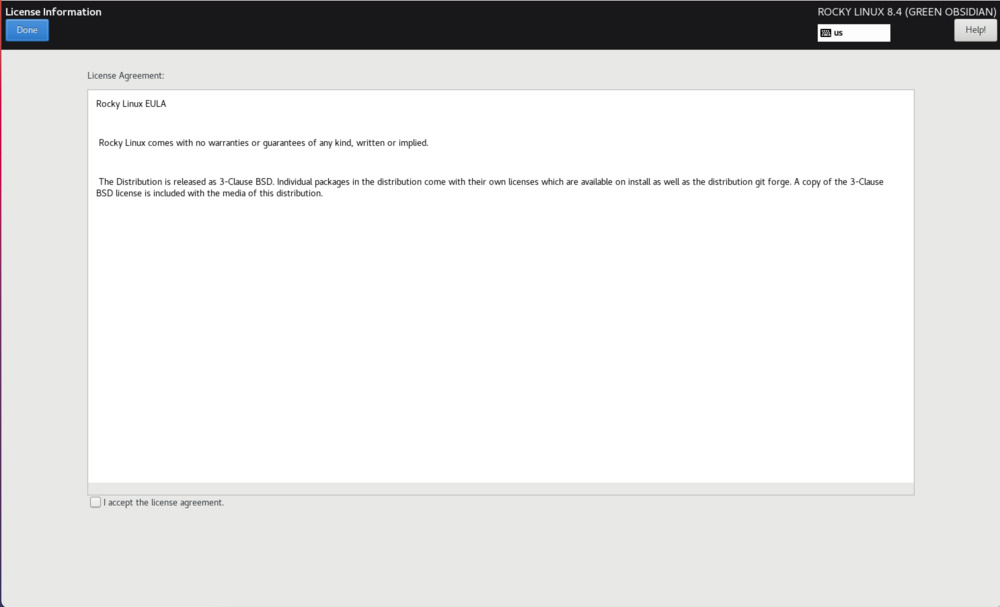
License information
We have to confirm the license information.
Don’t stress, the license is a 3-Clause BSD:
Here is the 3-Clause BSD license:
Redistributions of source code must retain the above copyright notice, this list of conditions and the following disclaimer.
Redistributions in binary form must reproduce the above copyright notice, this list of conditions and the following disclaimer in the documentation and/or other materials provided with the distribution.
Neither the name of the copyright holder nor the names of its contributors may be used to endorse or promote products derived from this software without specific prior written permission.
If you want to compare the 3-Clause BSD with the GPL License, you can get more information here: https://opensource.org/licenses/BSD-3-Clause
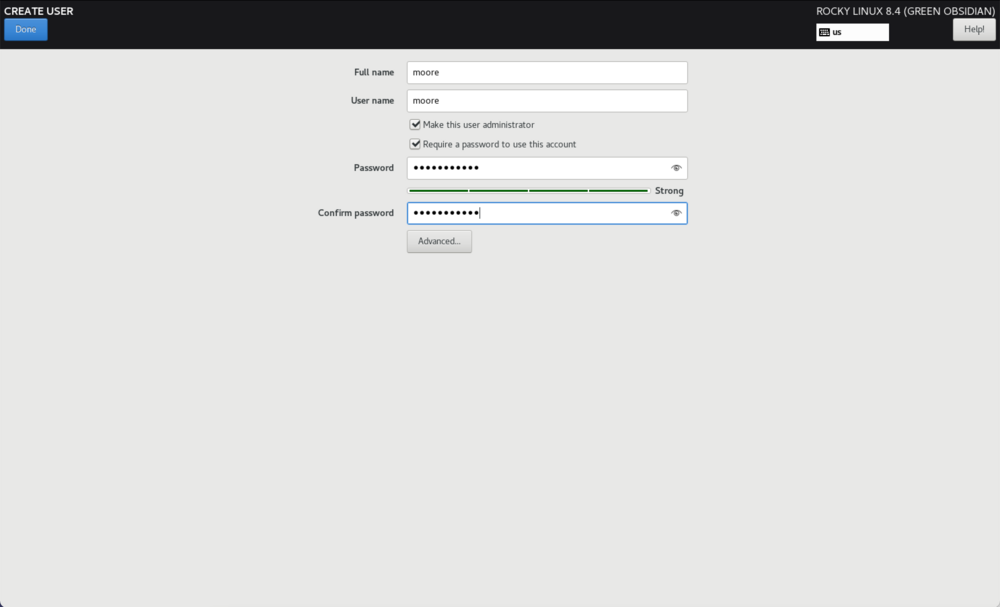
Create your own user
You should never use the root user for your session, you can create your own user.
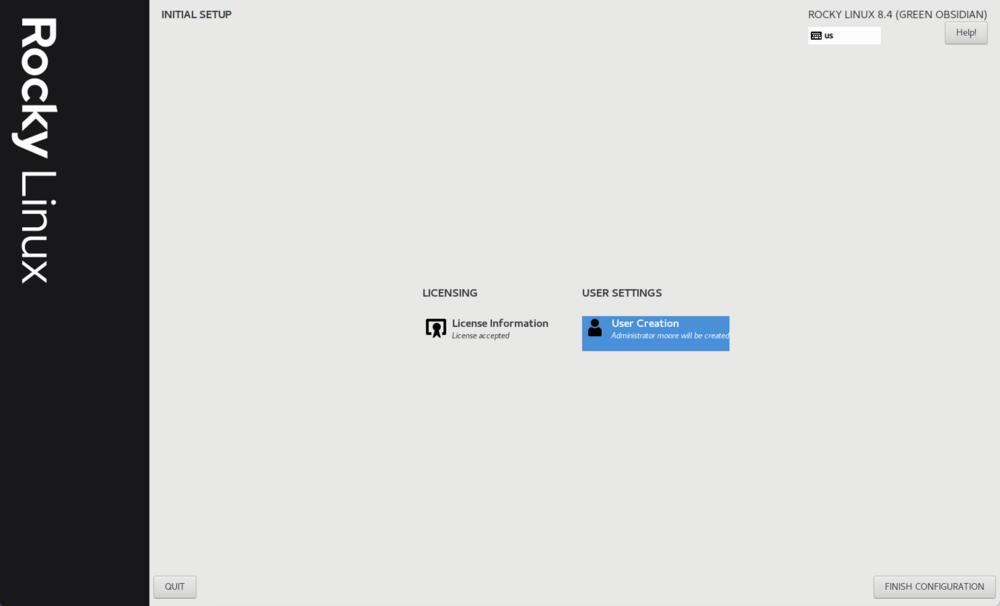
Good to start
You can click on “FINISH CONFIGURATION”.
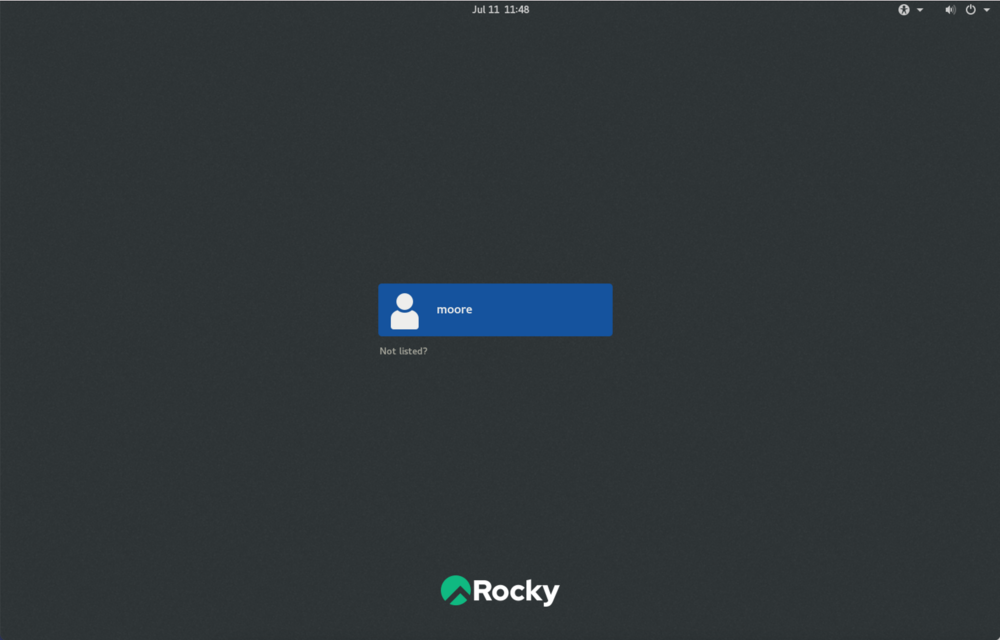
First login
Great, our Rocky Linux is ready, we can login with the user created in the previous step.
You can pick one of these display servers:
- Standard (Wayland display server), the default
- Kiosk
- Classic (X11 display server)
- Custom
- Standard (X11 display server) on Xorg
- User script
We are keeping the default Wayland configuration.
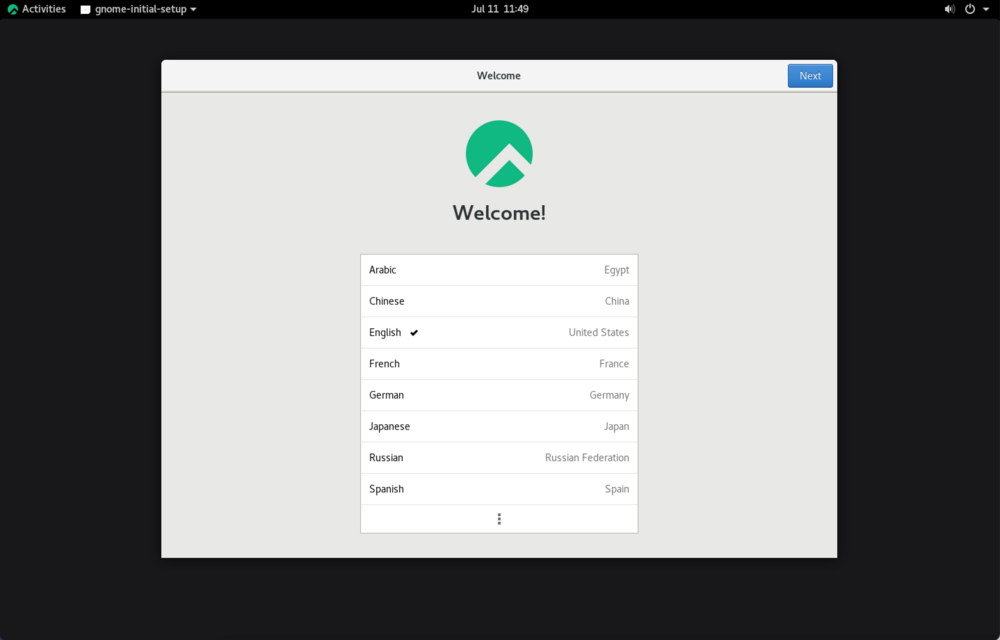
User language
We can change the language from our new session.
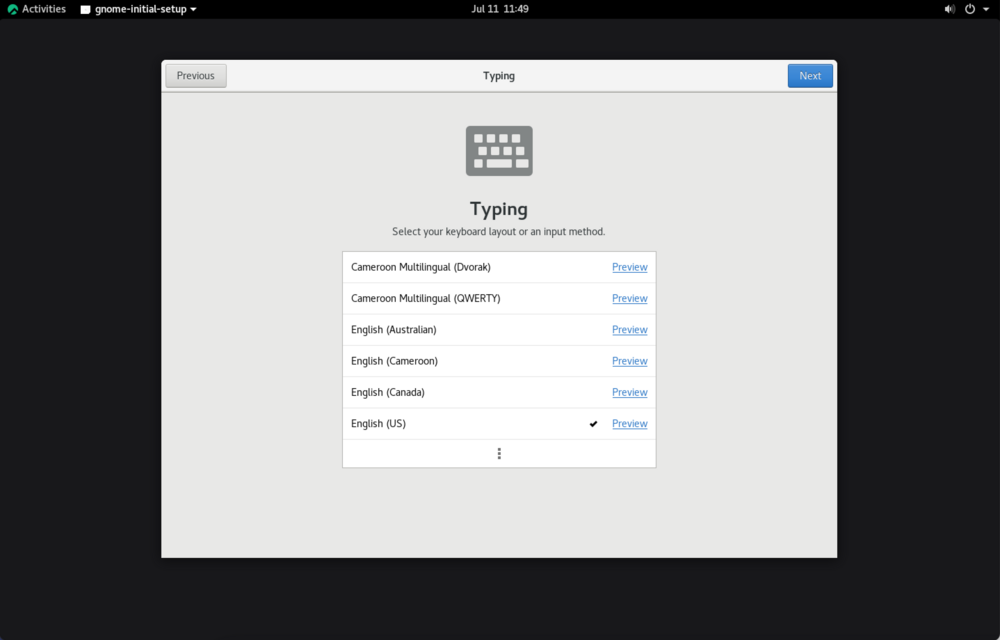
Keyboard
We can select the keyboard of this session.
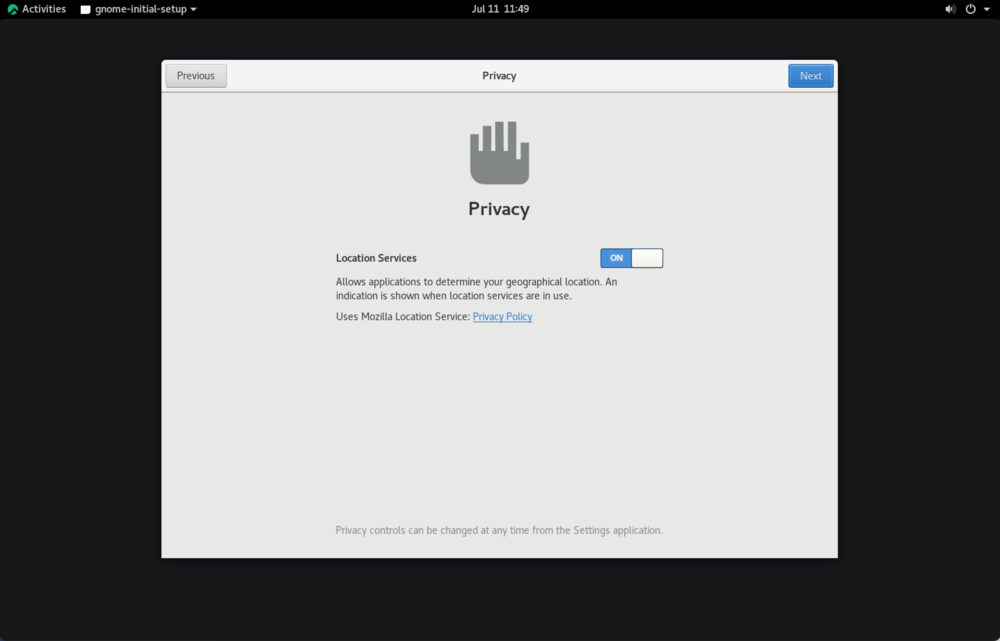
Location services
We can choose to enable or disable the Location services for our privacy
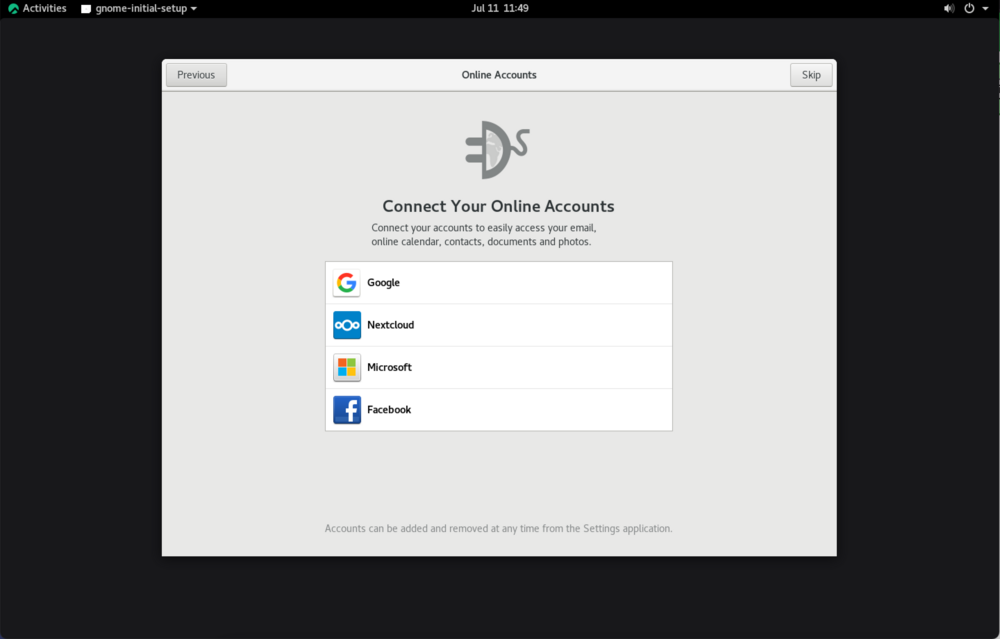
Connect online services
We can connect online services.
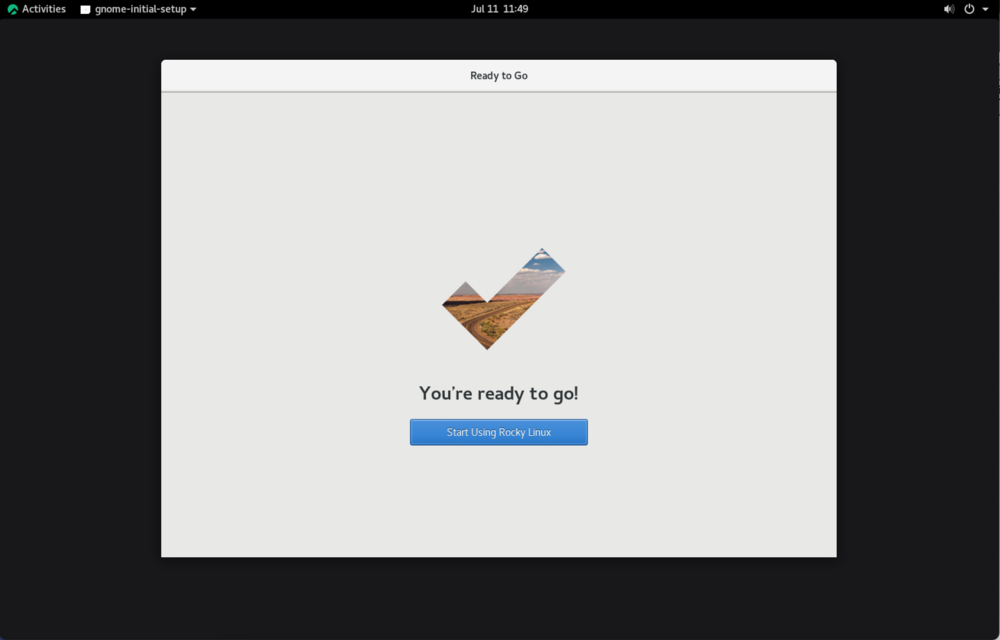
You are ready to go!
Last splash screen at the end of the session configuration.
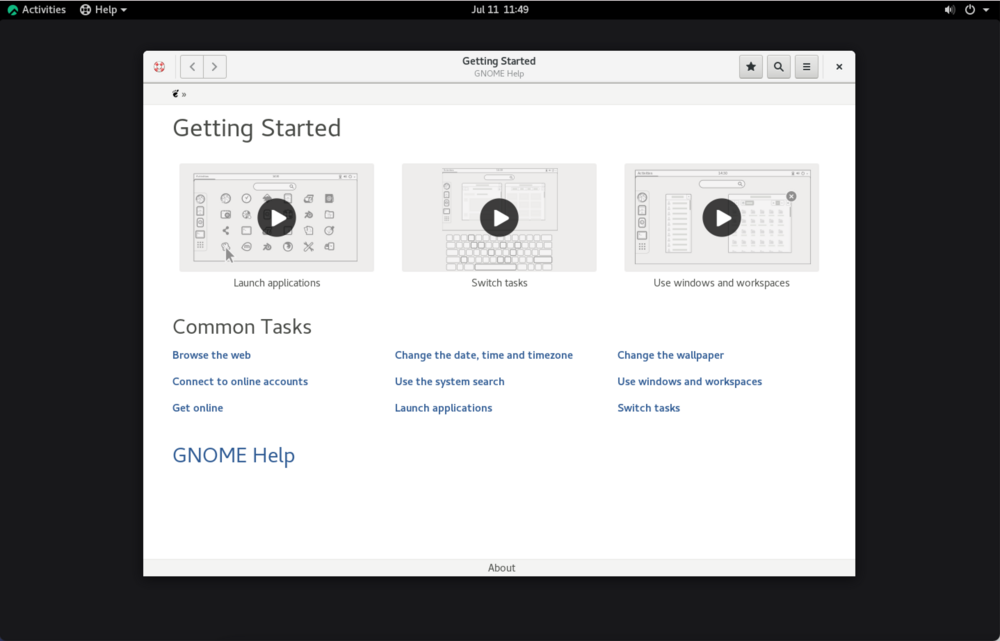
Getting started
For new GNOME user coming from macOS or Microsoft Windows, we have one help page with the main functions.
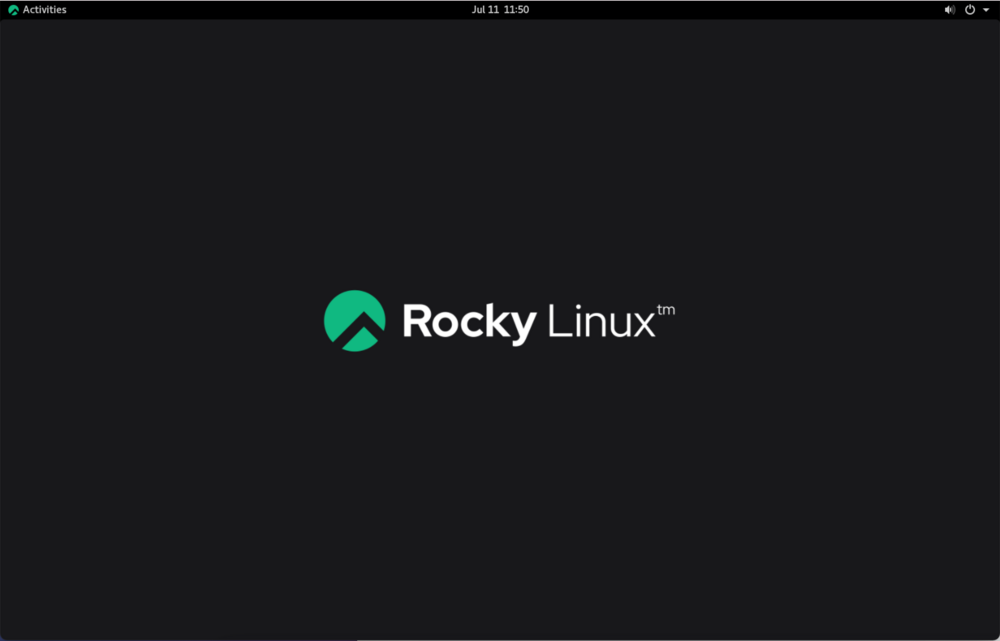
Rocky Linux desktop
Good look for our new Rocky Linux desktop.
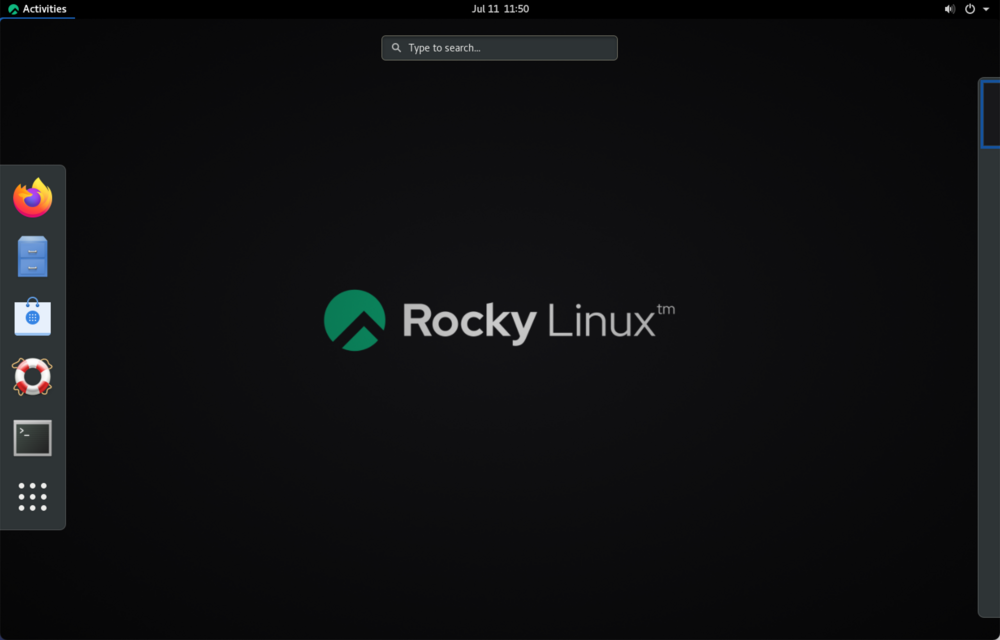
Classic Gnome
We have our classic GNOME menus.
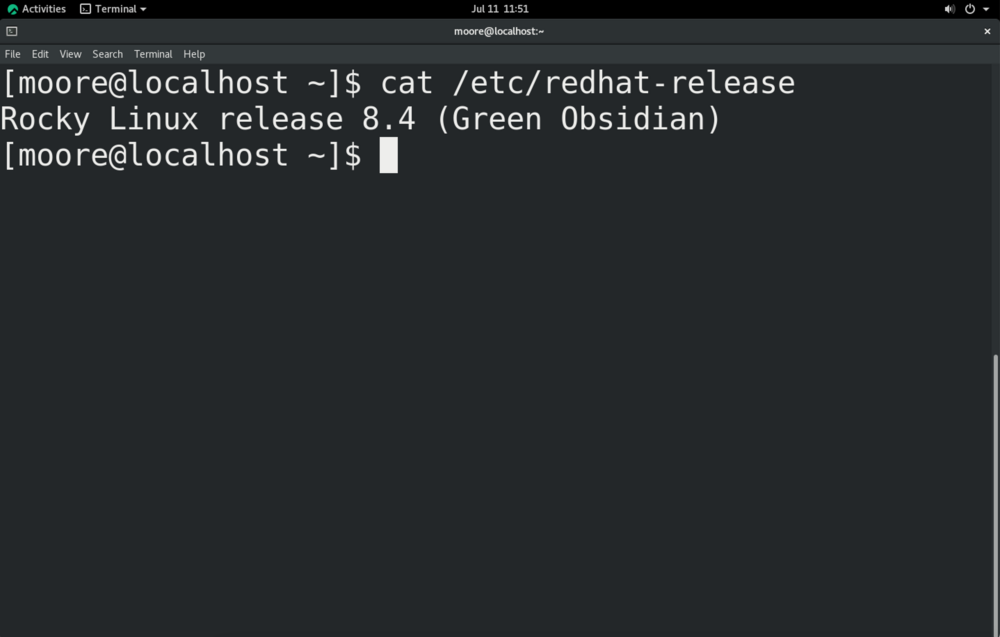
Check the installed Operating system
The 8.4 release is called “Green Obsidian”:
The release from the Linux CLI:
[moore@rockdata ~]$ cat /etc/redhat-release
Rocky Linux release 8.4 (Green Obsidian)
The Green Obsidian is a naturally formed volcanic glass from Pre-Columbian Mesoamerica.
We can check the release details:
[moore@rockdata ~]$ cat /etc/os-release
NAME="Rocky Linux"
VERSION="8.4 (Green Obsidian)"
ID="rocky"
ID_LIKE="rhel fedora"
VERSION_ID="8.4"
PLATFORM_ID="platform:el8"
PRETTY_NAME="Rocky Linux 8.4 (Green Obsidian)"
ANSI_COLOR="0;32"
CPE_NAME="cpe:/o:rocky:rocky:8.4:GA"
HOME_URL="https://rockylinux.org/"
BUG_REPORT_URL="https://bugs.rockylinux.org/"
ROCKY_SUPPORT_PRODUCT="Rocky Linux"
ROCKY_SUPPORT_PRODUCT_VERSION="8"
We have the 4.18 kernel with the Red Hat patches:
[moore@rockdata ~]$ uname -a
Linux rockdata 4.18.0-305.3.1.el8_4.x86_64 #1 SMP Thu Jun 17 07:52:48 UTC 2021 x86_64 x86_64 x86_64 GNU/Linux